Basement excitement!

picture-0015

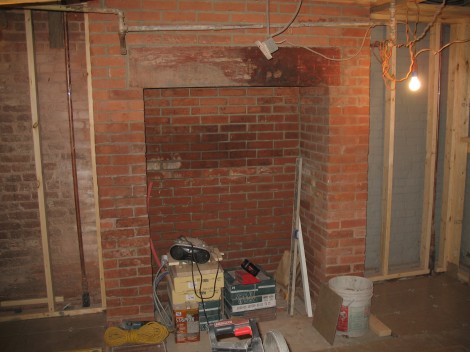
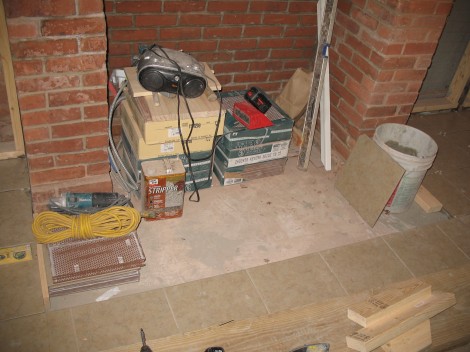
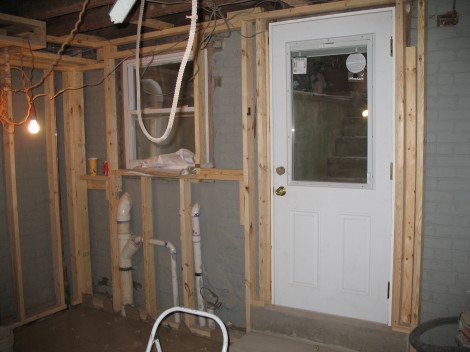
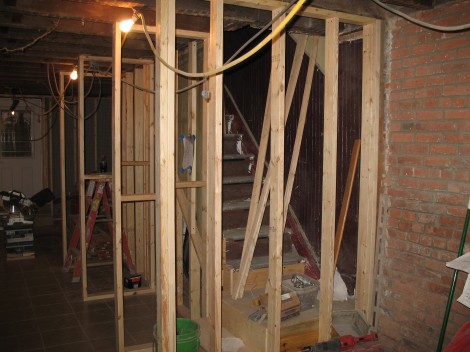
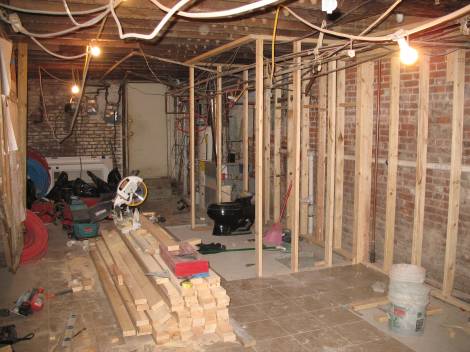
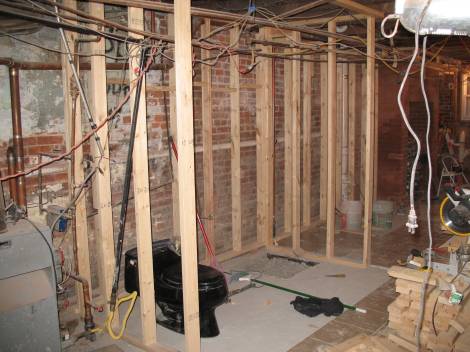
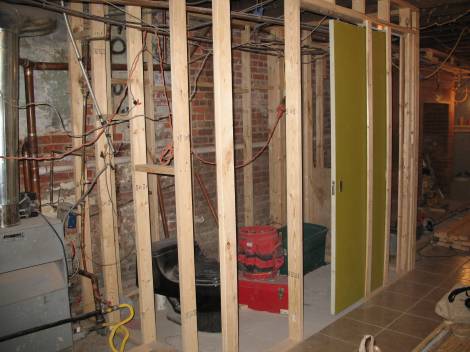
Remember, a week ago we thought it was cause to celebrate because we had a concrete floor at long last.  Now we have doors and windows and tile and stairs and, well, it finally feels like a livable space.  I could just show it to you and not have to explain everything to you.  You could look around and see what David and I have been planning and thinking about for, what is it, three years now?  Yes, we started the renovation 16 months ago, but this layout, the plan itself is over three years old.  And now we get do the design work.  Look at the great black fixtures in the bathroom.  And the cool pocket door.  And the fireplace we exposed?

picture-0063

picture-0073

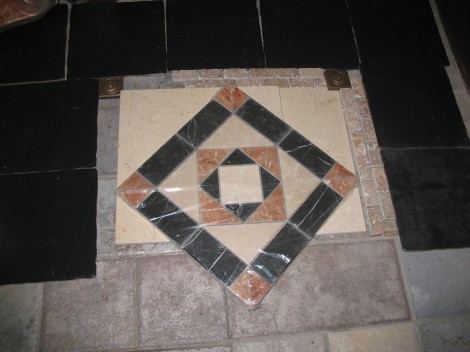
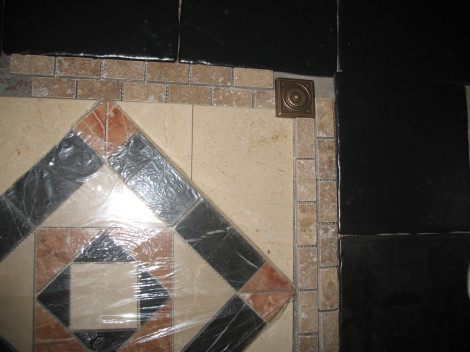
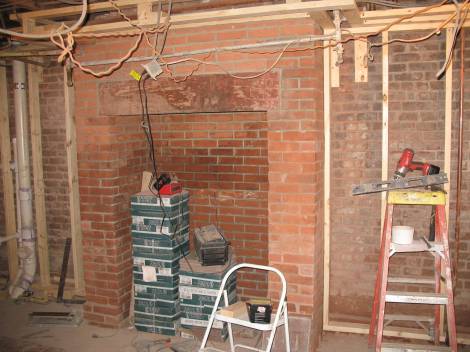
We went and picked out tile to make into the firebox and hearth.  So cool… a stone and marble mosaic in the center, with marble to square the corners, surrounded by more stone with Turkish tiles in the corners again, all in a field of black tile.  I wonder if we want the black tile to be diagonal instead of “in the grid”…  The border between the hearth and the main field of floor tile will have another run of the stone rows and the Turkish corner pieces.  It all really came together.

picture-0092

picture-0101

So much planning this weekend past.  It all started coming together.  We got a black pedestal sink for the bathroom to match the toilet and the shower (and there’s a nice black medicine cabinet on sale this weekend at Lowe’s, which just leaves the hardware for the bathroom).  We chose the kitchen cabinets which go along with the high end dishwasher and stove.  We found a fridge and a microwave/range hood to fit the small space.  Again, all we need for the kitchen now is backsplash tiles, hardware, and granite countertop. 

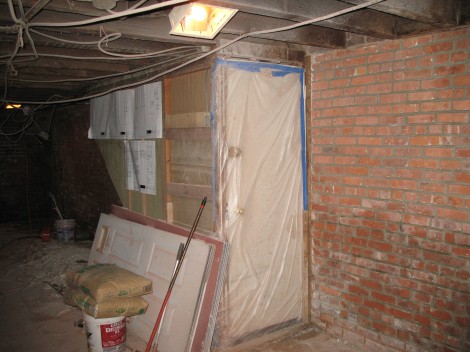
Check out how much light the door (with the built-in blinds) allows in, and the large window we installed in place of the mini window that was there before…  Sure, you can’t see the light right now, but trust me.  You can see the light all the way from the front of the house.

picture-0052

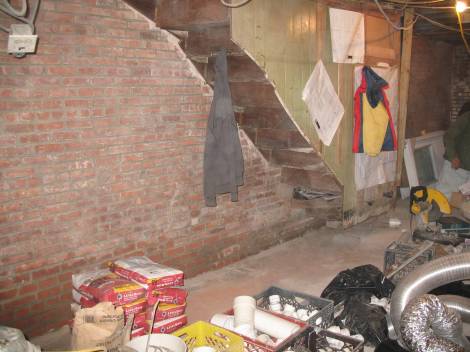
And how cool… the stair has been turned for the central entrance, which sets up all of the closets and the pantry we designed.  We even went out and bought a steel fire-rated door for it.

picture-0026

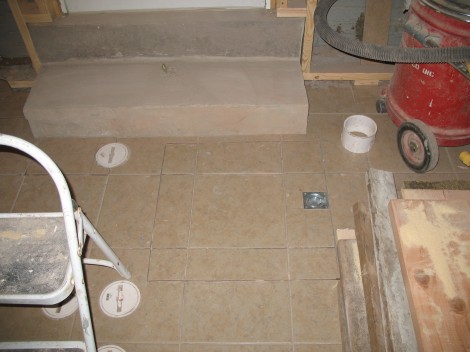
Oh, and check this out… so cool.  This is a basement, so we had a french drain system put in, and two sump pumps buried into the floor just in case.  What, oh what would our contractor do to cover the well of the sump pump?  Check this out!  A tiled trap door with a cool handle hat sits flush.  I freaked out when I saw it.  Our contractor really does do good work…
picture-0045

Published in: on November 25, 2008 at 4:23 am  Comments (1)  

High fashion at the Furry Arms

picture-0051

picture-0062

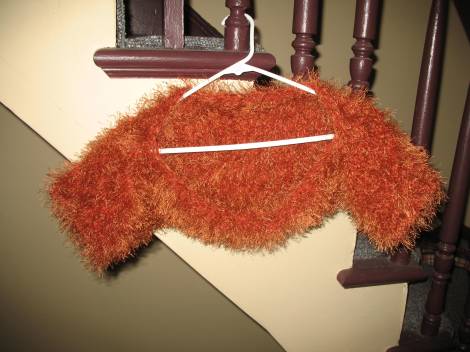
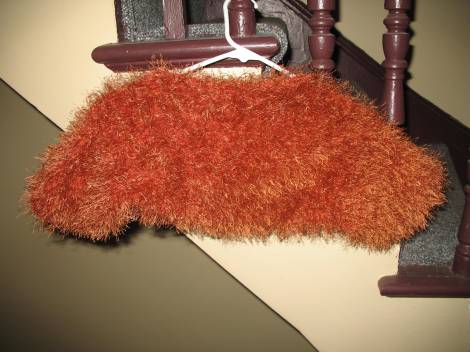
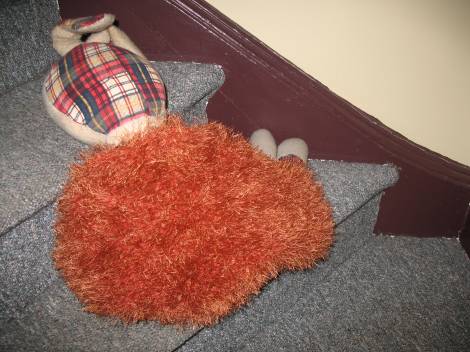
Am I the only one who remembers the name of the apartment building on Sesame Street?  The Furry Arms (with your doorman Benny Rabbit, with such attitude)…  well, with this lovely Baby Bolero/Shrug, Mia will be the talk of the Furry Arms.  A variation on a pattern from Lion Brand, which I don’t think they edited well.  I made it with Fun Fur and Suede knit as one instead of two different Fun Furs.  This piece just makes me smile and I can’t wait to see her in it.  Thanks to David for the loan of his childhood rabbit (not Benny, but he’ll do) as the model.

picture-0033

picture-0043

Published in: on November 20, 2008 at 3:57 am  Comments (1)  

More basement progress

 picture-0131

OK, we now have a concrete floor, and tiling, and we’re starting on the framing of the walls.  Pretty exciting stuff!  No end in sight yet, but we’re feeling optimistic.  We’ll order the kitchen cabinets this weekend, and then we’re pretty much all planned out and ready to sprint to the finish line.

picture-0081

picture-0141

Published in: on November 20, 2008 at 3:32 am  Comments (1)  

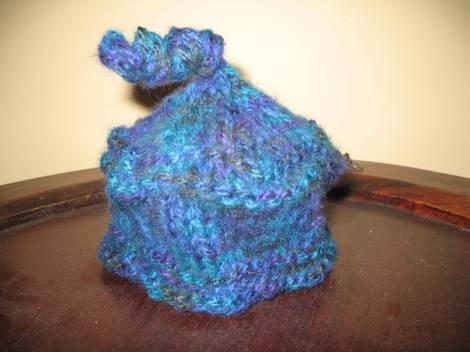
Swirly Ball!

 picture-0024

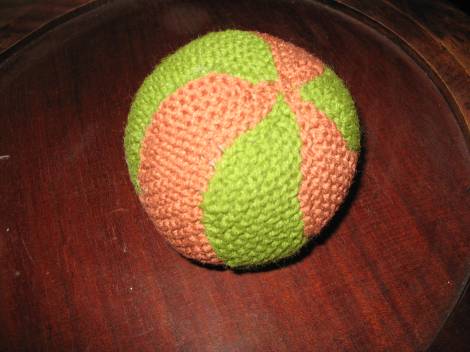
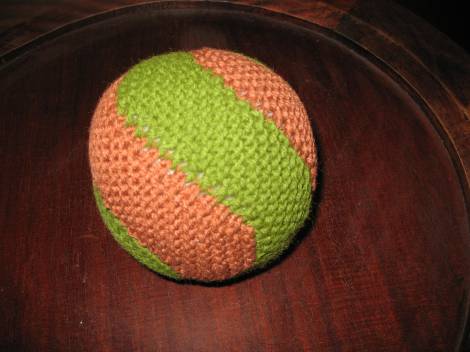
Another wonder of short rows… a great pattern.  I altered it slightly in the finishing.  I ended with a castoff in the first color, which then left a perfect template as to where to join to the original wedge which was started with a long strand cast on (thus providing the first row of knitting as well.

picture-0014

Published in: on November 20, 2008 at 3:30 am  Comments (1)  

Conor’s Cap

picture-0042

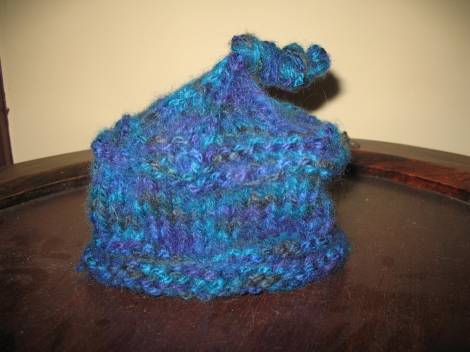
Well, this is the hat I intended to make on election night when I inadvertently made the ruffled baby cap.  I needed a hat for a newborn male and made a hat for a year old girl.  So I went onto Ravelry and found a great, masculine pattern and looked through my stash and two hours later, ta da!

picture-005

Published in: on November 8, 2008 at 10:25 pm  Comments (1)  

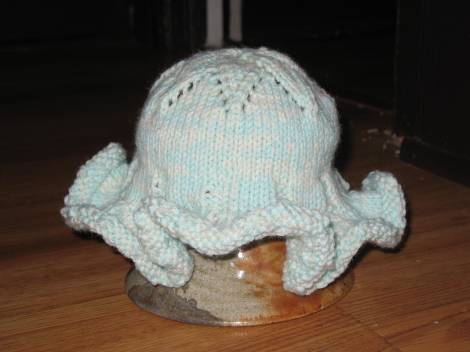
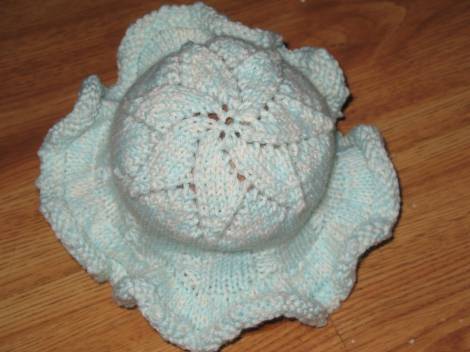
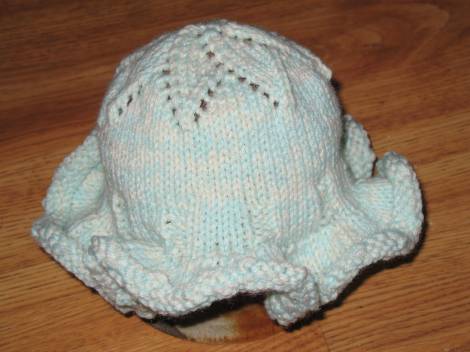
Ruffled Baby Hat

picture-0013picture-0023picture-0032

needles: US 7 dpns (if you have them, start with 5″ and then switch 8″ as needed) , US 9 dpns (8″), US 10 dpns (8″)

worsted weight yarn, or two strands of sport weight used as one for a mottled effect

Starting with the US 7 dpns, cast on 7 stitches; join in the round without twisting stitches, placing a stitch marker.  (yf is a yarn forward which makes an increase and a lace hole with the following knit stitch)

Row 1: *k1 yf* [14 stitches]

Row 2/4/6/8/10/12/14/16: knit all

Row 3: *k2 yf* [21 stitches]

Row 5: *k3 yf* [28 stitches]

Row 7: *k4 yf* [35 stitches]

Row 9: *k5 yf* [42 stitches]

Row 11: *k3 k2tog yf k1 yf* [49 stitches]

Row 13: *k2 k2tog yf k3 yf* [56 stitches]

Row 15: *k1 k2tog yf k5 yf* [63 stitches]

Row 17: *k2tog yf k7 yf* [70 stitches]

continue to knit all stitches in stockinette for 2 inches.

For the next inch make a 5×2 rib by *k5 p2*

Next row (a good time to switch to your longer needles) *kfb* [140 stitches]

Knit all for two more rows.

Switch to the US 9 dpns.  Knit two more rows.

Next row, *kfb k* [210 stitches]

Knit all for two more rows.

Switch to the US 10 dpns. Knit all for two rows.

Next row, *k3 k2tog* [168 stitches].

Bind off.

Published in: on November 6, 2008 at 12:20 am  Comments (2)  

A Post-Partisan Dinner

No photos, but trust me… delish and beautiful.  It was only as I was half-way through menu planning that I realized I was color-coordinating for a post-red and blue-state celebration.  Here was last night’s dinner:

Red Salmon Pinwheels with a dill mustard sauce served over mesclun

Smashed red and blue potatoes with garlic and sauteed onions

Roasted cauliflower

Blueberry ice cream for dessert

Coordinated and delicious… offering enough energy to keep us going until 3am waiting for the (disappointing) Prop 8 news from California.

Published in: on November 5, 2008 at 7:22 pm  Comments (1)  

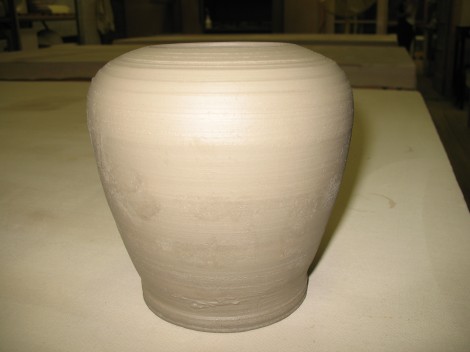
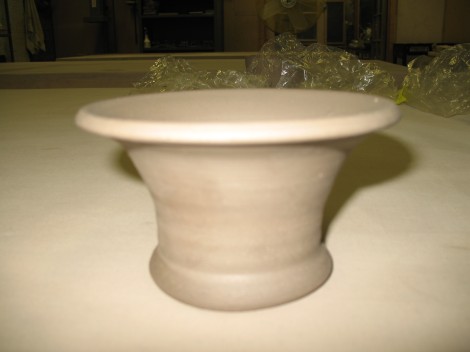
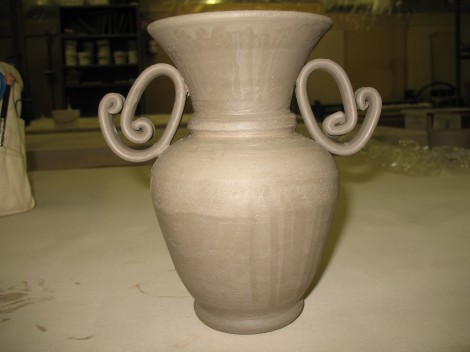
Another vase, step by step

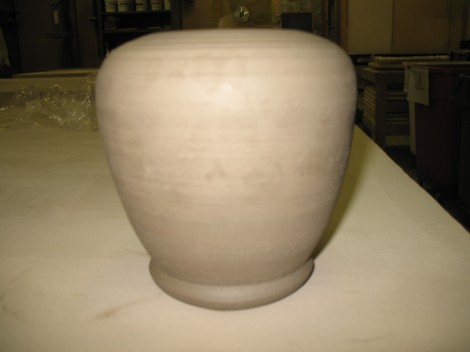
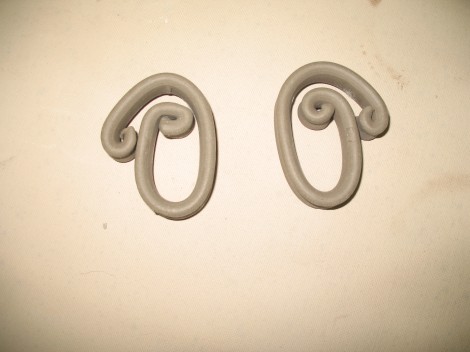
Ok, that was fun.  I had a good night at the studio just now.  I threw the pieces last week, and used the extruder the week before.  I like these pieces.  They are about a foot high right now, so should fire to a cute size of about 10 inches tall.  Let’s do this together. 

First I throw the two pieces…

Then we extrude some wacky handles…

Now trim the thrown pieces…

And now assemble.  Voila!

Now, c’mon… when you start with this, you’re just itching to glaze.  My only concern is that the handles may deform.  But if they do, that could be fun.  Or it could give me another part of the process to discover.  That’s what it’s all about.  The process.  I’ll post photos in a few months of the finished work once glazed.  If you have any advice on how you would like to see these pieces glazed, let me know.  I’m open to suggestions.  For the handle placement, I just keep rotating and flipping them around and trying them at different heights.  I think this could get big…

Published in: on November 3, 2008 at 3:44 am  Comments (1)  

Composite Vases, step by step

So, I start with two thrown pieces, a base and a fluting, carefully measured to fit together.  Then I use the extruder to make some wacky handles (I’m working towards whimsy these days).

Then I trim the thrown pieces…

Then I join them all together and get…

All this is the level of work and inspiration I find at the studio (there’s nothing like working surrounded by other artists of different levels).  NY/NJ Academy of Ceramic Arts… best studio I’ve ever seen.  And wait until you see these pieces when glazed.  Incredible glaze choices.  Check out the studio: http://www.geocities.com/nynjaca/

Published in: on November 3, 2008 at 3:23 am  Leave a Comment  

The Basement, Post One

Finally, some progress on our basement renovation.  Here is an early picture before we excavated the floor, repositioned the sewer lines, upgraded all the piping, and sat around hoping for something to happen (an inspection appointment, a window put in, anything.  We’re easliy satisfied at this point, our expectations are so low.)

Well, the concrete floor has been poured!  Next step is the tiling, and from there, let’s get nutty, and consider the installation of walls and electrics and, oh, I don’t know, a bathroom!  The kitchen itself is weeks away, but we can now start moving forward again.

The work Simpson Contracting has done has been wonderful, really, and the delays are not their doing.  The masonry improvements are undetectable and the exposed brick elements will gleam.  Developments as they come, and no one will be happier to see them than me, but do try and revel along, taking heart for your own renovation projects which seem to never end (we’ve taken to refering to Pete Simpson as “Our Eldon”.)

Published in: on November 2, 2008 at 4:26 pm  Comments (1)